Uncategorized
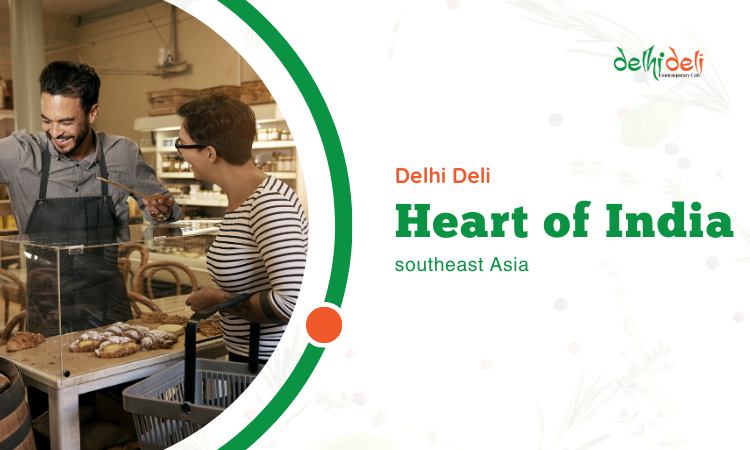
Delhi Deli: Bringing the Heart of India to Southeast Asia
Nestled amongst the vibrant streets of Southeast Asia lies a haven for all things Indian: Delhi Deli Cafe. This


Nestled amongst the vibrant streets of Southeast Asia lies a.. Read more
If you’re looking for an authentic Indian dining experience in.. Read more

Looking for easy chicken breast dinner ideas that are both.. Read more
Nestled amongst the vibrant streets of Southeast Asia lies a haven for all things Indian: Delhi Deli Cafe. This
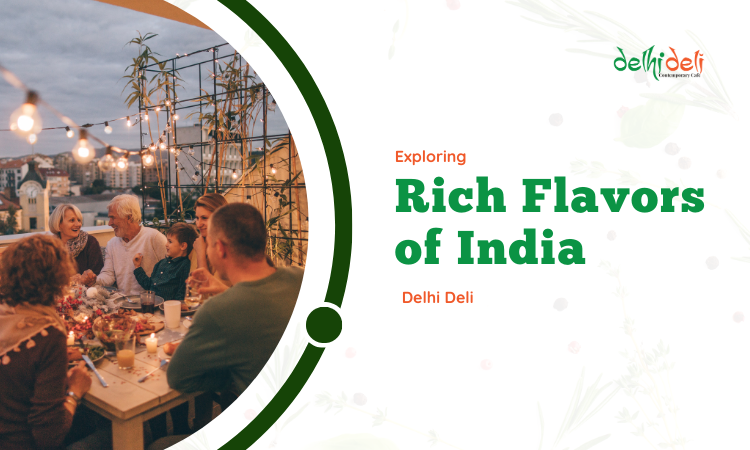
If you’re looking for an authentic Indian dining experience in Yangon, Delhi Deli Cafe is a must-try. A mouthwatering
Looking for easy chicken breast dinner ideas that are both flavorful and fuss-free? Look no further than Delhi Deli Cafe!
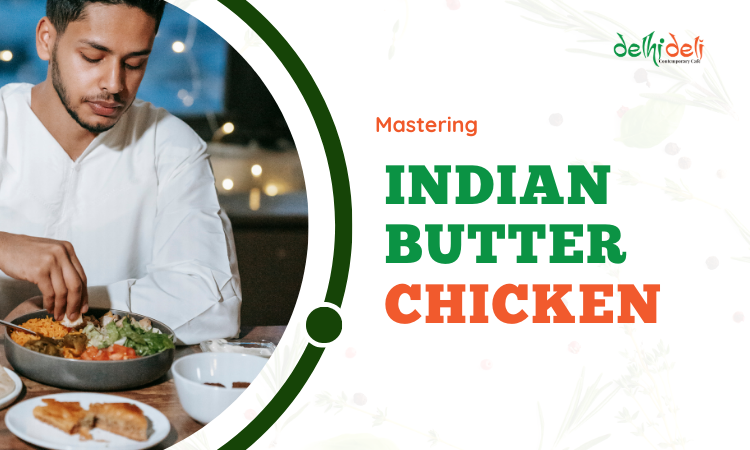
Butter chicken, also known as Murgh Makhani, is a beloved Indian dish famous for its creamy tomato gravy and tender,
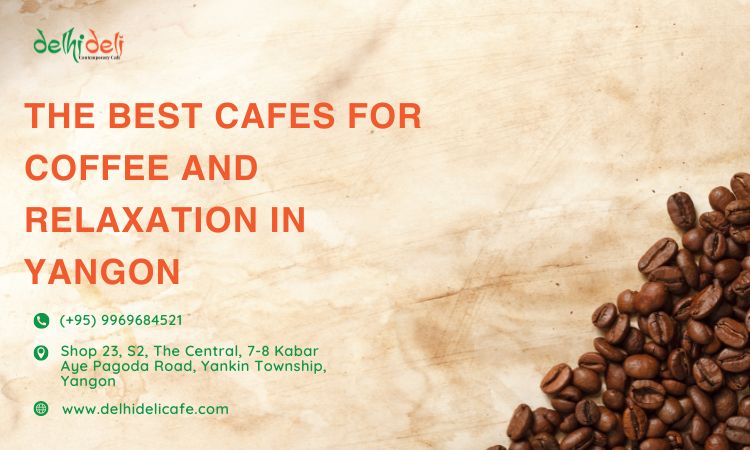
Introduction Craving a caffeine fix among Yangon’s cultural treasures? Look no further! There is a hidden gem in this

Introduction The people of Delhi are the ones who can show their excitement through their wonderful culinary traditions. Find